
Introduction
Last Tuesday, I was standing in my kitchen at 5:30 PM, staring at a package of split chicken breast and wondering how on earth I was going to turn it into something my picky 8-year-old would actually eat. Sound familiar? I bet you’ve been there too – that moment when you need to get dinner on the table, but you’re not quite sure how to make that intimidating piece of poultry sing.
Are you ready to transform this simple cut of chicken into something that’ll have your family asking for seconds? Trust me, once you master this method, you’ll never look at split chicken breast the same way again.
Ingredients List
Here’s what you’ll need for four servings of absolutely divine split chicken breast:
For the Chicken:
- 4 split chicken breasts (about 2-3 pounds total)
- 2 tablespoons olive oil (I use the good stuff from that little Italian market downtown)
- 1 teaspoon kosher salt
- 1/2 teaspoon freshly ground black pepper
- 1 teaspoon garlic powder
- 1 teaspoon dried thyme (though fresh is magical if you have it)
- 1/2 teaspoon paprika (gives it that gorgeous golden color)
For the Pan Sauce (optional but recommended):
- 2 tablespoons butter
- 2 cloves fresh garlic, minced
- 1/2 cup chicken broth
- 2 tablespoons fresh lemon juice
- 1 tablespoon fresh herbs (rosemary or thyme work beautifully)
Substitution Notes: If you can’t find split chicken breasts, bone-in, skin-on chicken breasts work just fine – you’ll just need to adjust the cooking time slightly. For the olive oil, avocado oil is a fantastic substitute, especially if you’re cooking at higher temperatures. I discovered this trick during my brief keto phase last year, and it’s stuck with me ever since.
You’ll notice the warm, earthy aroma of thyme the moment you sprinkle it on – it reminds me of my grandmother’s Sunday roasts. If you’re out of paprika, a pinch of cayenne pepper adds a lovely warmth, though go easy unless your family enjoys a bit of heat like mine does.
Timing
Prep Time: 15 minutes
Cook Time: 35-40 minutes
Total Time: 50-55 minutes
Here’s the thing about timing with split chicken breast – patience is your best friend. I usually start prepping around 4:30 PM on weeknights when I know the kids will be hungry by 6. The beauty of this recipe is that most of the work happens in the oven, which gives me time to throw together a quick salad or get those green beans steaming.
Pro tip from someone who’s burned her fair share of dinners: set a timer for every step. I learned this the hard way when I got distracted helping with homework and came back to find my beautiful chicken looking more like charcoal. Now I have three different timers going – one for prep, one for the initial sear, and one for the oven time.
This recipe is perfect for those crazy Tuesday evenings when everyone has somewhere to be. You can get it started, pop it in the oven, and use that hands-off cooking time to help with homework or just catch your breath.
Step-by-Step Instructions
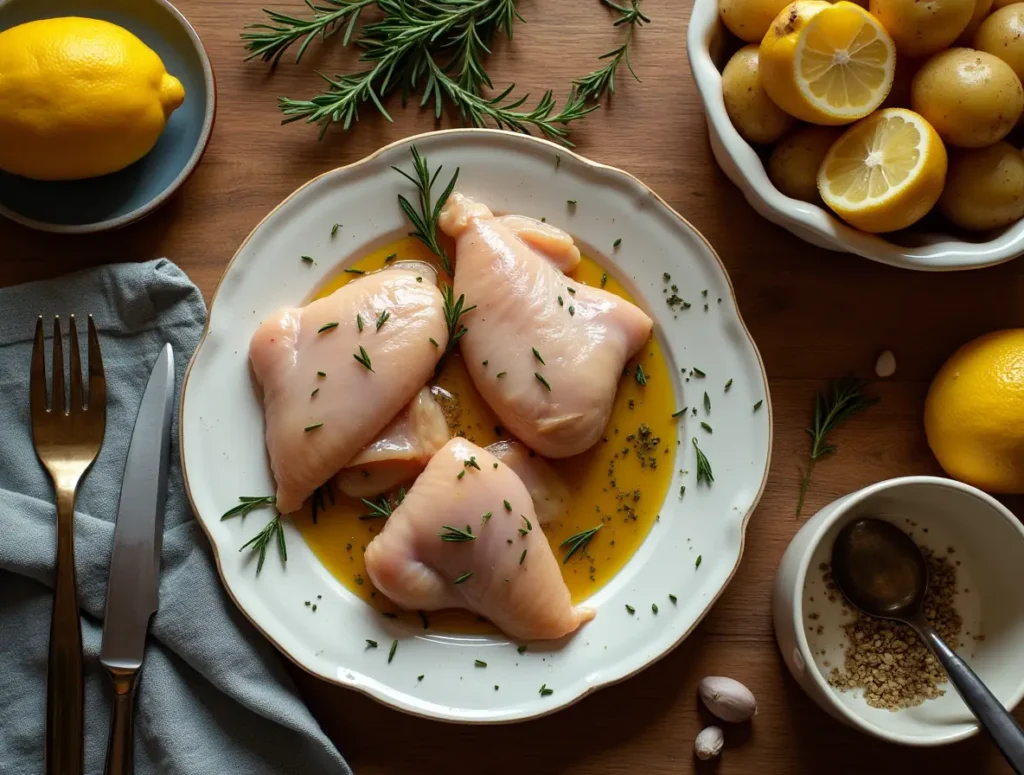
Step 1: Prepare Your Chicken
Start by patting those split chicken breasts completely dry with paper towels. I mean really dry – any moisture left on the skin will prevent that gorgeous golden browning we’re after. This was my biggest mistake in those early attempts, and trust me, you’ll thank me later for this tip.
Season both sides generously with salt, pepper, garlic powder, thyme, and paprika. Don’t be shy here – chicken can handle bold flavors, and this seasoning blend will create the most incredible crust. I like to let the seasoned chicken sit at room temperature for about 15 minutes while my oven preheats. This helps ensure even cooking throughout.
Step 2: Preheat and Prep
Preheat your oven to 375°F and grab a large oven-safe skillet or cast-iron pan. If you don’t have one, a regular skillet for searing and a baking dish for the oven works just fine – I did it this way for years before investing in my beloved cast-iron collection.
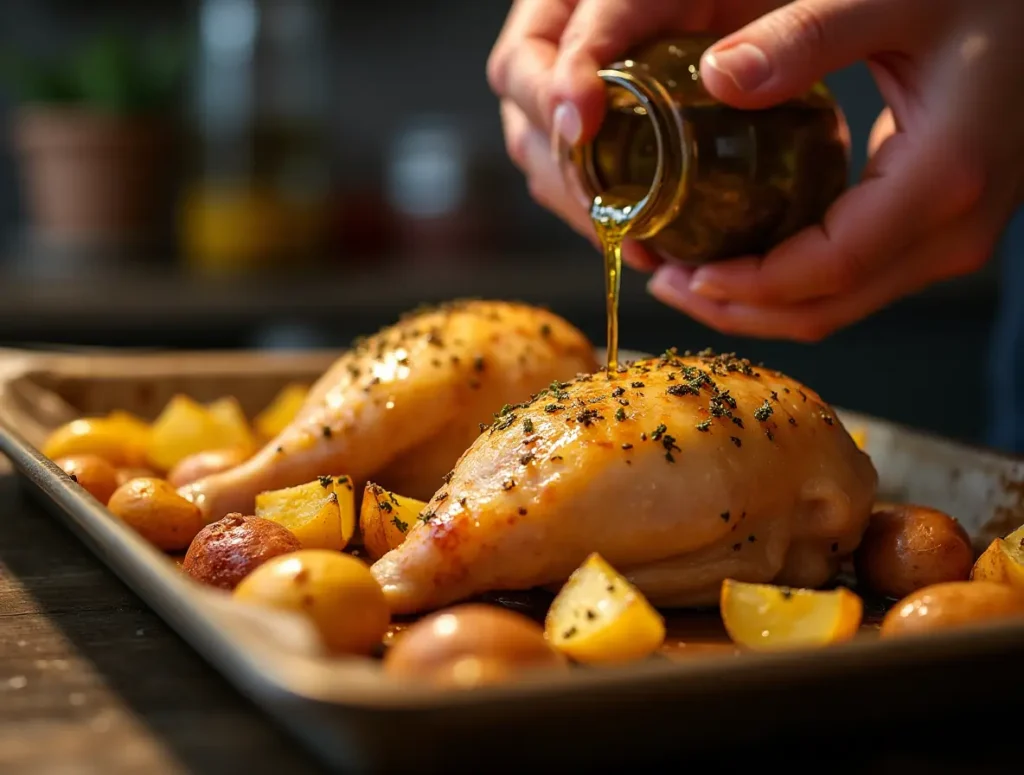
Heat that olive oil in your skillet over medium-high heat. You’ll know it’s ready when it shimmers slightly but doesn’t smoke. The first time I made this recipe, I had the heat too high and ended up with burnt skin and raw insides – definitely not the look we’re going for!
Step 3: Sear the Chicken
Place the chicken breasts skin-side down in the hot oil. Here’s where patience really pays off – resist the urge to move them around. Let them sear undisturbed for 4-5 minutes until the skin is golden brown and releases easily from the pan.
The sizzling sound should be consistent but not aggressive. If it’s too loud and violent, lower your heat a touch. Flip the chicken and sear the other side for another 3-4 minutes. This initial searing locks in all those delicious juices and creates that restaurant-quality appearance we all love.
Step 4: Transfer to Oven
If you’re using an oven-safe skillet, simply transfer the whole pan to your preheated oven. If not, move the chicken to a baking dish – no need to add more oil since we’ve already got that beautiful sear.
Bake for 25-30 minutes, or until the internal temperature reaches 165°F. I invested in a good meat thermometer after one too many dry chicken disasters, and it’s been a game-changer. Insert it into the thickest part of the breast, avoiding the bone.
Step 5: Rest and Serve
This step is crucial, and I learned it the hard way: let your chicken rest for 5-10 minutes before slicing. I know it’s tempting to dive right in – the aroma filling your kitchen is absolutely intoxicating – but this resting period allows the juices to redistribute throughout the meat.
While the chicken rests, you can quickly make that optional pan sauce if you’re feeling fancy. Just add butter, garlic, chicken broth, and lemon juice to the same skillet, scraping up all those flavorful brown bits. Let it simmer for 2-3 minutes until slightly thickened.
Nutritional Information
As someone who’s always trying to balance flavor with nutrition for my family, I love that split chicken breast delivers on both fronts. Here’s what you’re getting per serving:
- Calories: 320
- Protein: 42g
- Fat: 15g
- Carbohydrates: 1g
- Fiber: 0g
- Sodium: 380mg
- Cholesterol: 125mg
The bone-in, skin-on preparation provides more flavor and moisture compared to boneless, skinless breasts, while still keeping the dish relatively lean. The skin adds healthy fats and helps prevent the meat from drying out during cooking – something I learned after years of serving my family what I lovingly called “chicken cardboard.”
The high protein content makes this perfect for active families, and the minimal carbs mean it pairs beautifully with whatever vegetables or starches you choose to serve alongside.
Healthier Alternatives for the Recipe
When my oldest daughter started showing interest in nutrition during her high school health class, we began experimenting with ways to make our favorite recipes even healthier without sacrificing flavor.
For Lower Fat: Remove the skin before eating (though I still recommend cooking with it on for moisture). This reduces the fat content by about 40% while maintaining all that delicious flavor. My husband does this religiously, while I’m team “life’s too short to skip the crispy skin.”
For Reduced Sodium: Cut the salt in half and boost flavor with additional herbs and spices. Fresh rosemary, sage, or oregano work beautifully. I discovered this combination during a brief period when my doctor suggested I watch my sodium intake – honestly, I barely noticed the difference.
For Anti-Inflammatory Benefits: Add turmeric to your spice blend (about 1/2 teaspoon). It gives the chicken a gorgeous golden color and provides wonderful health benefits. I started doing this after reading about turmeric’s benefits, and now it’s become our standard approach.
For Keto or Low-Carb: This recipe is naturally perfect as-is! Serve with roasted vegetables or a crisp salad instead of starchy sides. During my brief keto experiment (which lasted exactly three weeks), this was one of the few dishes that kept me satisfied and happy.
Serving Suggestions
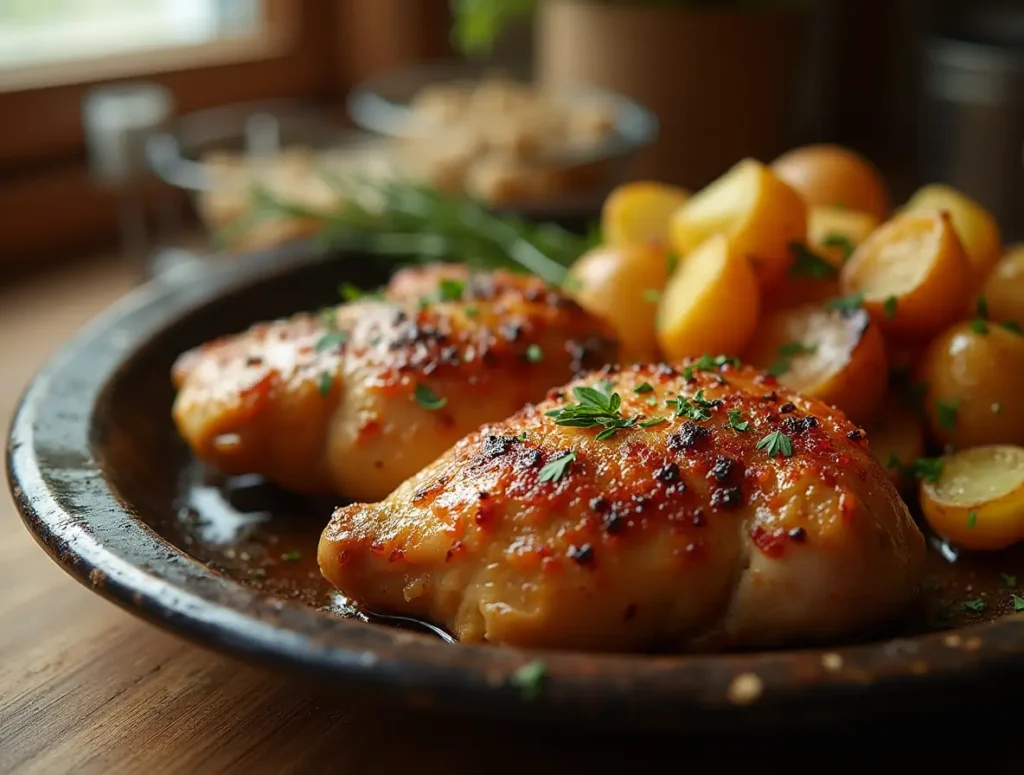
This versatile split chicken breast has graced our dinner table in so many different ways over the years. For casual Sunday family dinners, I love serving it alongside my grandmother’s mashed potatoes and whatever green vegetables are in season. There’s something so comforting about that classic combination.
During the warmer months, I’ll slice the cooled chicken and serve it over a big, colorful salad with fresh berries and a light vinaigrette. It was the star of my husband’s 40th birthday celebration last summer when I served it family-style with grilled vegetables and fresh corn on the cob.
For weeknight dinners, try it with roasted sweet potatoes and steamed broccoli – the kids actually eat their vegetables when they’re paired with this flavorful chicken. I’ve also shredded the leftover meat and used it in quesadillas, chicken salad sandwiches, and even added it to pasta dishes.
One of my favorite discoveries happened by accident when I had leftover chicken and threw it into a grain bowl with quinoa, roasted vegetables, and avocado. Now it’s become a regular lunch rotation in our house, especially during those busy back-to-school weeks.
Common Mistakes to Avoid
Let me share some of the mistakes I’ve made over the years so you can skip the learning curve I went through:
Mistake #1: Not Patting the Chicken Dry Wet chicken equals no browning, and no browning equals no flavor. The first few times I made this, I wondered why my chicken looked pale and unappetizing. The culprit? Skipping this crucial first step.
Mistake #2: Cooking Straight from the Fridge Cold chicken cooks unevenly. Let it sit at room temperature for 15-20 minutes before cooking. I learned this from my neighbor who went to culinary school – it makes such a difference in the final result.
Mistake #3: Moving the Chicken Too Soon When I first started cooking, I had this nervous habit of constantly flipping and moving food around. With chicken, this prevents proper browning and can make the skin stick to the pan. Let it be!
Mistake #4: Skipping the Meat Thermometer I used to rely on visual cues and “it looks done” – which resulted in either overcooked, dry chicken or unsafe, undercooked meat. A digital meat thermometer was one of the best $15 investments I’ve made for my kitchen.
Mistake #5: Not Letting It Rest I know it’s hard to wait when you’re hungry, but cutting into the chicken immediately causes all those precious juices to run out onto your cutting board instead of staying in the meat where they belong.
Storing Tips for the Recipe
As someone who meal preps every Sunday to survive our hectic weeknights, I’ve become somewhat of an expert on storing cooked chicken properly.
Refrigerator Storage: Properly stored split chicken breast will keep in the refrigerator for 3-4 days. I let it cool completely before storing it in airtight containers. Pro tip: slice only what you need each day to prevent the rest from drying out.
Freezer Storage: This chicken freezes beautifully for up to 3 months. I often make a double batch on Sundays and freeze half for those weeks when life gets extra crazy. Wrap individual pieces in plastic wrap, then place in freezer bags with the date clearly marked.
Reheating Tips: The key to reheating without drying out is low and slow. I reheat in a 300°F oven, covered with foil, for about 15 minutes. If you’re in a hurry, the microwave works too – just add a splash of chicken broth and cover to create steam.
Meal Prep Magic: On Sundays, I often cook extra chicken specifically for the week ahead. It’s perfect for quick salads, sandwiches, or throwing into pasta dishes. This habit has saved my sanity more times than I can count during those overwhelming weeknight dinner rushes.
FAQs
Q: Sarah from Denver asked: “Can I use boneless chicken breasts instead?”
A: Absolutely! Just reduce the cooking time to about 20-25 minutes since boneless breasts cook faster. You’ll miss some of the flavor that the bone provides, but it’s still delicious.
Q: “My chicken always comes out dry. What am I doing wrong?”
A: This was my biggest struggle for years! The most common culprit is overcooking. Invest in a meat thermometer and pull the chicken at exactly 165°F. Also, don’t skip the resting period – it’s crucial for juicy results.
Q: “Can I make this ahead for meal prep?”
A: Yes! I do this every Sunday. Cook the chicken completely, let it cool, then store in the fridge. It actually develops even more flavor overnight. Just reheat gently when ready to serve.
Q: “What if I don’t have an oven-safe skillet?”
A: No problem! Sear in any skillet, then transfer to a baking dish for the oven portion. I did this for years before getting my cast-iron collection.
Q: “Is it normal for the skin to shrink during cooking?”
A: Completely normal! The skin will tighten and pull back slightly, which is actually a good sign that it’s crisping up properly.
Conclusion
Mastering split chicken breast has been a game-changer in my kitchen, transforming weeknight dinners from stressful to satisfying. The key lies in proper preparation, patient searing, and respecting the resting time – three simple steps that create restaurant-quality results at home.
Ready to give it a try? I’d love for you to leave a comment below sharing how it turned out, or if you have any questions that didn’t make it into my FAQ section. And if this recipe becomes a hit in your house like it has in mine, consider subscribing to my blog for more family-tested, kitchen-approved recipes that actually work in real life.
Happy cooking, friends – here’s to perfectly juicy chicken and the joy of gathering around the table together!