
My Journey with Tamales
Have you ever wondered how something so delicious could bring people together so beautifully? This beef tamales recipe has become our family’s way of celebrating special moments, and I’m thrilled to finally share it with you after perfecting it through countless attempts (and yes, a few memorable fails!).
Trust me, making authentic beef tamales at home might seem intimidating at first—I certainly felt that way!—but with this step-by-step recipe, you’ll create tamales that rival your favorite Mexican restaurant’s. The rich, tender beef filling wrapped in soft masa and steamed to perfection is absolutely worth the effort.
Table of Contents
Ingredients for Beef Tamales Recipe
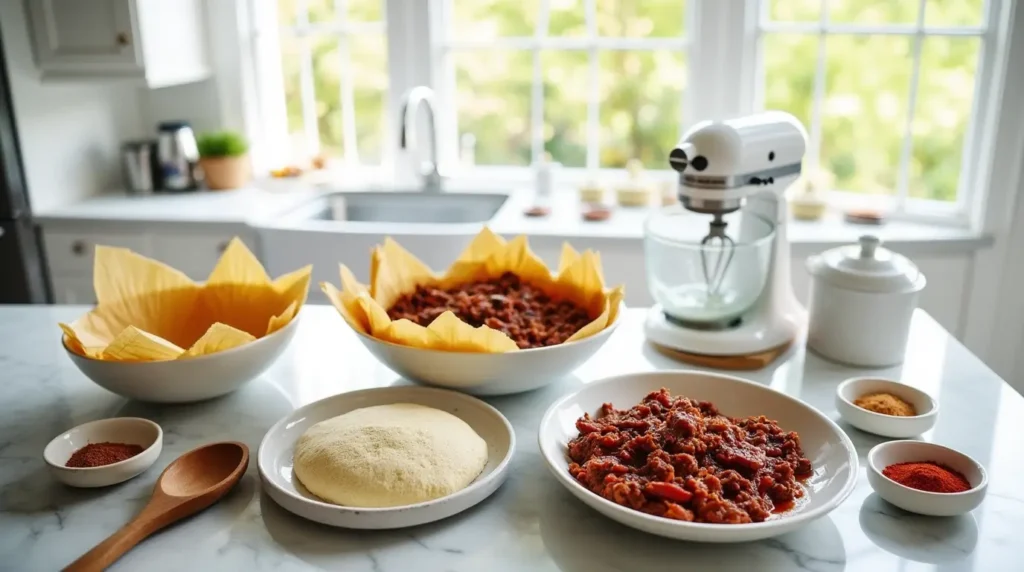
For the Meat Filling:
- 3 pounds beef chuck roast, trimmed and cut into 2-inch chunks
- 1 large white onion, quartered
- 6 cloves garlic, peeled
- 2 bay leaves
- 1 tablespoon salt
- 1 teaspoon black pepper
- Water to cover (about 6-8 cups)
For the Chile Sauce:
- 8 dried guajillo chiles, stems and seeds removed
- 4 dried ancho chiles, stems and seeds removed
- 4 cloves garlic, peeled
- 1/2 teaspoon ground cumin
- 1/2 teaspoon dried oregano (Mexican oregano if you can find it—I get mine from a little specialty shop downtown)
- 1/2 teaspoon salt
- 2 cups beef broth (reserved from cooking the meat)
For the Masa Dough:
- 6 cups masa harina (corn flour specifically for tamales)
- 2 teaspoons baking powder
- 2 teaspoons salt
- 1 1/2 cups lard or vegetable shortening (at room temperature)
- 4-5 cups beef broth (reserved from cooking the meat)
For Assembly:
- 1 package corn husks (about 8 ounces)
- Warm water for soaking husks
I always keep a well-stocked pantry with masa harina—my favorite brand is Maseca, which I find gives the most authentic texture. When it comes to dried chiles, I discovered the most amazing Hispanic market near my house that sells freshly dried peppers with that gorgeous leathery flexibility rather than the brittle ones you sometimes find at regular grocery stores.
You’ll notice the incredible earthy aroma of the dried chiles the moment you start to toast them—it’s that moment when my kids always wander into the kitchen asking, “Mom, are you making tamales?”
Timing
- Preparation Time: 1 hour (including soaking corn husks)
- Cooking Time: 3 hours for the beef + 1.5 hours for steaming tamales
- Total Time: About 5.5 hours
I know this seems like a significant time investment, but here’s my secret: I usually prepare the beef filling a day ahead when I have a quiet Sunday afternoon. This breaks up the process and makes tamale assembly day much more manageable, especially when I invite friends over to help roll (and sample the results!).
This is definitely weekend cooking at its finest. In our house, we’ve turned tamale-making into a family tradition for the first weekend of December—the kids are in charge of soaking and sorting the corn husks while my husband and I prepare the fillings.
Step-by-Step Instructions
Step 1: Prepare the Corn Husks
- Sort through the corn husks, discarding any damaged pieces.
- Place husks in a large bowl or clean sink, cover with warm water, and soak for at least 1 hour until soft and pliable.
- Drain the husks and pat dry with kitchen towels before using.
The first time I made tamales, I rushed this step and tried using husks that weren’t fully softened. Big mistake! They cracked when I tried to fold them. Give them plenty of time to soak—even overnight if you want to get ahead.
Step 2: Cook the Beef
- Place beef chunks in a large Dutch oven or heavy pot.
- Add quartered onion, whole garlic cloves, bay leaves, salt, and pepper.
- Cover with water and bring to a boil over medium-high heat.
- Reduce heat to low, cover, and simmer for 2-3 hours until the meat shreds easily with a fork.
- Remove the meat and set aside to cool slightly, reserving the broth.
- Once cool enough to handle, shred the beef with two forks, discarding any fatty pieces.
I’ve learned to be patient with this step—the longer and slower the simmer, the more tender and flavorful your beef will be. Trust me, that extra 30 minutes makes all the difference between good tamales and amazing ones!
Step 3: Prepare the Chile Sauce
- Heat a dry skillet over medium heat and lightly toast the dried chiles for 1-2 minutes per side, just until they become aromatic. Be careful not to burn them or they’ll taste bitter!
- Place toasted chiles in a bowl and cover with hot water. Let soak for 20-30 minutes until soft.
- Transfer the softened chiles to a blender along with garlic, cumin, oregano, salt, and 2 cups of the reserved beef broth.
- Blend until completely smooth, 2-3 minutes.
- Strain the sauce through a fine-mesh sieve to remove any bits of skin or seeds.
- Pour the strained sauce into a medium saucepan and simmer over medium-low heat for 15-20 minutes until slightly thickened.
- Add the shredded beef to the sauce, stirring to coat evenly. Set aside.
When I first attempted this recipe, I skipped the straining step because I was trying to save time. Let me tell you, those little bits of chile skin can really affect the texture! Taking the extra few minutes to strain creates a silky-smooth sauce that perfectly coats every strand of beef.
Step 4: Prepare the Masa Dough
- In a large bowl, mix masa harina, baking powder, and salt.
- In a separate bowl, beat the lard or shortening with an electric mixer until light and fluffy, about 3 minutes.
- Gradually add the masa mixture to the lard, alternating with the reserved beef broth, until well combined.
- Continue beating for about 5-7 minutes until the dough is light and has a soft, spreadable consistency similar to thick peanut butter.
- Test the masa by dropping a small piece into a glass of cold water—if it floats, it’s ready! If it sinks, continue beating for a few more minutes.
This floating test is something Maria taught me, and it’s never failed me. The first few times I made tamales, my masa was too dense because I didn’t beat it long enough. Patience here creates that light, fluffy texture that makes restaurant-quality tamales so special.
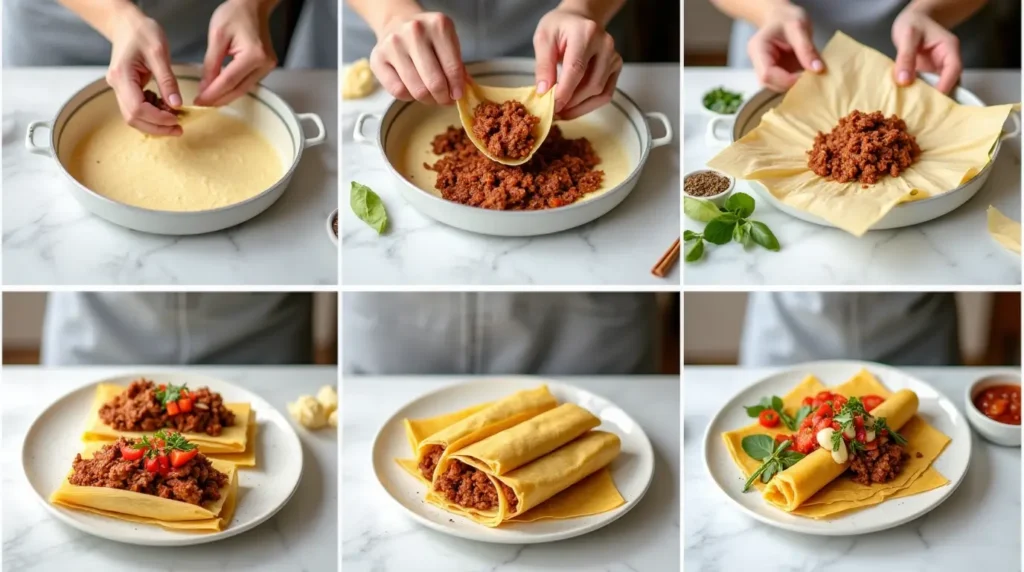
Step 5: Assemble the Tamales
- Take a softened corn husk and pat it dry. Lay it flat with the wide end facing toward you.
- Spread about 3-4 tablespoons of masa dough onto the center of the husk, leaving a 1-inch border along the sides and a 2-inch border at the narrow end.
- Place 2 tablespoons of the beef filling in a line down the center of the masa.
- Fold both sides of the husk toward the center, overlapping to enclose the filling.
- Fold the narrow end up toward the center, leaving the wide end open.
- For secure tamales, tear a thin strip from a corn husk and use it to tie around the tamale.
I remember being so intimidated by this step when I first started! My early tamales looked like shapeless blobs. The trick is to not overfill them—less is more when it comes to the filling. Now my kids and I have friendly competitions to see who can roll the most perfect-looking tamales!
Step 6: Steam the Tamales
- Stand the tamales open-end up in a steamer basket placed in a large pot with water at the bottom (make sure the water doesn’t touch the tamales).
- Cover the pot and steam over medium heat for about 90 minutes, checking occasionally to add more water if needed.
- To test if tamales are done, remove one and let it cool for a minute. If the husk peels away easily from the masa, they’re ready!
My grandmother always placed a penny at the bottom of her steamer pot—when the water got low enough that you could hear the penny rattling, it was time to add more water. I still use this trick today!
Nutritional Information
These homemade beef tamales are not only delicious but more nutritious than many store-bought versions:
- Calories: approximately 320 per tamale
- Protein: 15g
- Carbohydrates: 30g
- Fat: 16g
- Fiber: 3g
- Sodium: 450mg
As someone who tries to feed my family wholesome food, I appreciate that these tamales are made with simple, pronounceable ingredients and no preservatives. The protein from the beef keeps my active kids fueled for their after-school activities, while the corn masa provides sustained energy.
Healthier Alternatives for the Recipe
While traditional tamales are perfect for special occasions, here are some modifications I’ve developed to make them a bit lighter for everyday enjoyment:
- Swap the lard for vegetable shortening or a 50/50 mix of shortening and olive oil for a heart-healthier fat profile.
- Use lean beef sirloin instead of chuck roast to reduce the fat content while maintaining good flavor.
- For a lower-sodium version, cut the salt in half and boost flavor with additional herbs like cilantro and epazote.
- Try using bone broth instead of regular broth for added nutrition—I started doing this after reading about its benefits, and my family hasn’t noticed any difference in taste!
When my daughter was briefly following a dairy-free diet, I discovered that these tamales were naturally perfect for her needs. I’ve even created a version using chicken for friends who don’t eat beef, and they’ve become just as popular at our gatherings.
Serving Suggestions
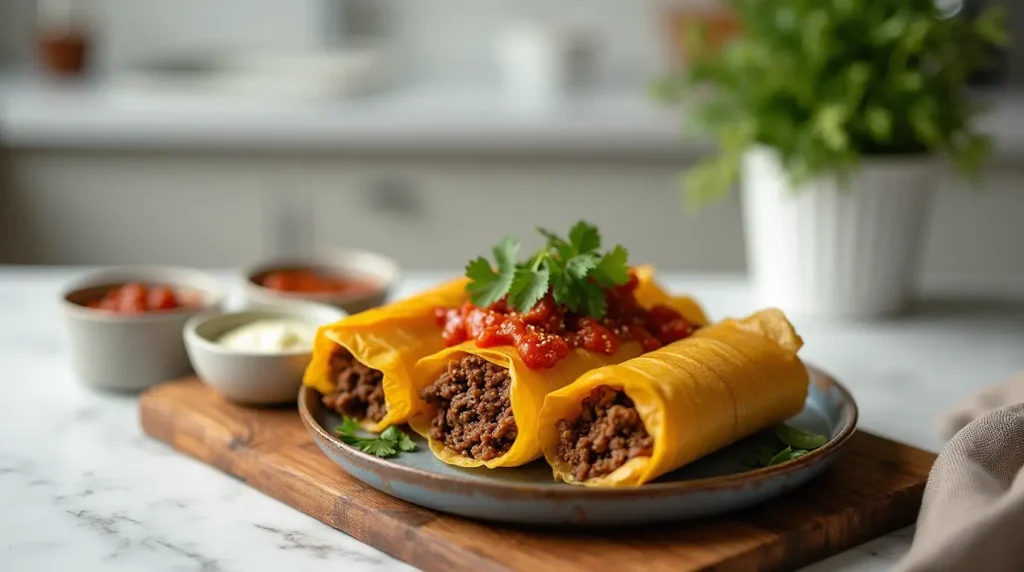
These beef tamales shine as the star of your meal, but here are my family’s favorite ways to serve them:
- Arrange on a colorful platter with fresh lime wedges, sliced radishes, and cilantro sprigs for a festive presentation.
- Serve alongside a simple cabbage slaw dressed with lime juice and a touch of honey for a refreshing contrast to the rich tamales.
- For a complete meal, add a side of Mexican rice and slow-cooked pinto beans—this is my go-to spread for weekend family dinners.
- Set up a toppings bar with fresh pico de gallo, sliced avocados, and crumbled queso fresco for everyone to customize their plate.
These tamales were the centerpiece of my daughter’s graduation celebration last year. We set up a beautiful outdoor table with colorful Mexican blankets as tablecloths, strung paper picado across the patio, and served these tamales with all the fixings. Everyone still talks about that meal!
For a non-alcoholic beverage pairing, I love serving these with fresh horchata or jamaica (hibiscus tea). The sweetness of the horchata or the tartness of jamaica perfectly balances the rich flavors of the tamales.
Common Mistakes to Avoid
Through my years of tamale-making (and plenty of learning experiences!), here are the pitfalls to watch for:
- Overfilling the tamales: This was my biggest rookie mistake! Spread the masa thinly and use less filling than you think you need. The masa expands during cooking.
- Masa too dry or too wet: The consistency should be like soft peanut butter. If it’s crumbly, add more broth; if it’s too sticky, add more masa harina.
- Not soaking corn husks long enough: The first time I made tamales, I was in a hurry and used husks that weren’t fully softened. They cracked and split during folding. Give them at least an hour in hot water.
- Letting the steamer run dry: I once got distracted watching a movie with the kids while my tamales were steaming, and the pot boiled dry! Now I set a timer to check water levels every 30 minutes.
- Not allowing enough steaming time: Patience is key—undercooked tamales have a doughy texture. They need the full 90 minutes to achieve that perfect consistency.
The beauty of tamale-making is that even the “mistakes” are usually still delicious! When I first started, mine weren’t pretty, but my family devoured them anyway.
Storing Tips for the Recipe
Tamales are the ultimate make-ahead meal! Here’s how I manage them in my busy household:
- Refrigerator: Cooked tamales will keep in an airtight container for up to 5 days. I often make a double batch on Sunday, and we enjoy them throughout the week.
- Freezer: This is my secret weapon for busy weeknights! Arrange completely cooled tamales in a single layer on a baking sheet, freeze until solid, then transfer to freezer bags. They’ll keep for up to 6 months.
- Reheating: From refrigerated, steam for 15-20 minutes until heated through. From frozen, steam for 25-30 minutes, or microwave wrapped in a damp paper towel for 2-3 minutes.
- Make-ahead components: When life gets hectic, I often prepare the meat filling and soak the corn husks on Friday night, then assemble and steam the tamales on Saturday when I have more time.
During the holiday season, I set aside one full weekend for massive tamale production—last December, my sister and I made over 200 tamales in one day! We divided them among our families, and it was such a treat to have homemade tamales ready to enjoy throughout the busy holiday season.
FAQs
“Can I make these tamales ahead of time for a party?”
Absolutely! Jennifer from Boston asked me this last month, and I assured her that tamales are perfect for make-ahead entertaining. I often make them 1-2 days before a gathering and reheat them in the steamer for 15-20 minutes just before serving. They taste just as wonderful, and it lets me enjoy my own party!
“My masa seems too dry. What should I do?”
This is a common question I receive! The masa should have the consistency of soft peanut butter. If it’s too dry, gradually add more broth, one tablespoon at a time, until you reach the right texture. Remember the floating test—a small piece dropped in water should float if the consistency is correct.
“Can I use a different meat for the filling?”
Carlos from San Diego asked about using chicken instead of beef. Absolutely! I’ve made these with shredded chicken thighs, and they’re delicious. Simply substitute chicken for the beef and chicken broth for the beef broth. The cooking time for boneless chicken thighs is about 45 minutes to 1 hour instead of 2-3 hours.
“Do I have to use lard in the masa?”
This is one of the most frequent questions I get from health-conscious readers. While lard gives the most authentic flavor and texture, you can substitute vegetable shortening or even a mixture of shortening and softened butter. The key is to beat it until very light and fluffy before adding the masa.
“My corn husks keep opening up during steaming. Help!”
Sarah from Chicago had this issue, and I suggested using kitchen twine or strips torn from the corn husks to tie around each tamale. Another option is to place the tamales very tightly against each other in the steamer basket so they support each other during cooking.
Final Thoughts on Beef Tamales
These authentic beef tamales recipe bring together generations of traditional Mexican cooking techniques with practical adaptations for the modern home kitchen. The rich, tender beef filling wrapped in light, fluffy masa creates a perfect harmony of flavors and textures that’s well worth the effort.
Happy tamale making, friends!